Box Maker
Living-hinge boxes in any shape, as ready-to-run xTool Studio jobs
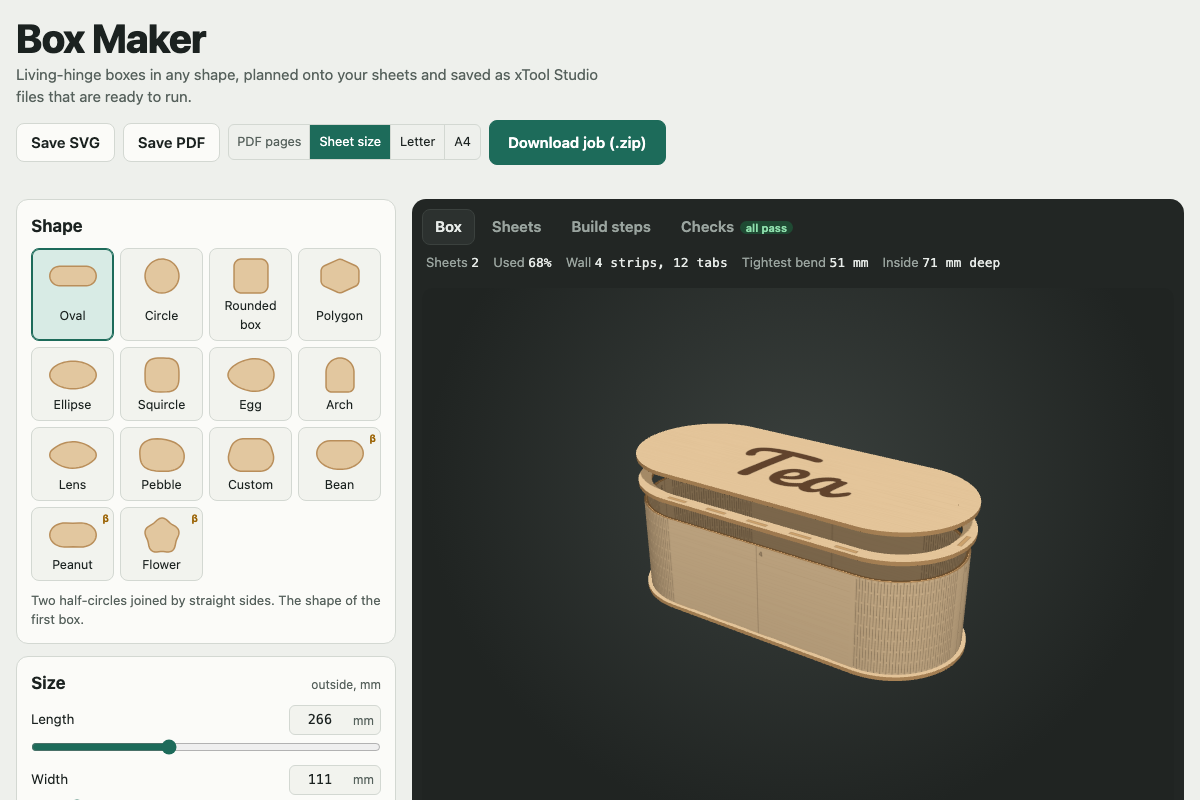
Screenshot of the tool as it opens; it is a real capture, not a mockup.
Thanks, your report was sent.
Report a problem or a newer version
What it makes
A zip with everything to cut one box: an xTool Studio .xs file and an SVG for each sheet, a bend coupon (a hinge test strip at the box's tightest bend and a disc to wrap it round), and a plain-text job sheet with the parts, the layer order, the offcuts and the assembly steps. Save SVG and Save PDF give the sheets on their own: SVG for other software, PDF at 1:1, either one page per sheet or tiled on Letter or A4 to print a paper template. Each .xs opens in Studio with one layer per step, named with its settings (for example "1 Hinge - CUT 80% 22mm/s"), set to run by layer in the right order: engraving first, then cuts from the inside out.
How to use it
- Pick a shape and set the outside length, width and height, or choose Custom and drag the corners to make sides of any length. The 3D view shows the box assembled; drag Lift apart to see the lid and rim.
- Choose your material and measure its thickness; set the kerf if your slots come out loose or tight. Only the 1/8 in basswood cut and hinge settings are tested; run a test grid for the rest.
- Add engraving if you want it: text or SVG art on the lid, the floor of the box, and the flat wall sides (the same on every side, or each side its own). Art that crosses the seam between two wall strips is cut there and lines up once built.
- Set your sheet size and which way the grain runs. The Sheets tab shows each sheet with its parts, cut order and leftover offcut; Checks lists every check the box passed.
- Download the job, open each .xs in xTool Studio, line up the sheet, and run it (or use Save SVG and Save PDF for other software or a printed template). Build in the order on the Build steps tab.
Build notes
- Hinge spacing comes from the bend radius, from the setting proven on a 51 mm bend (2.0 mm pitch, 15.9 mm cuts, 1.5 mm bridges in 1/8 in basswood ply). Bends tighter than 45 mm get a warning to cut the bend coupon first; under 20 mm they are refused.
- The inlay is the piece that drops out of the rim opening, glued under the lid, so it fits the rim by one kerf whatever your kerf is. When it saves a sheet, a wall strip is nested inside it and it becomes a ring.
- Each wall strip's number and direction is scored on one of its bottom tabs (hidden in the base once built), with the same mark beside its starting slot on the base, so strips that differ go back in the right place. Turn the marks off under Fine-tuning.
- Fill engraving uses Studio's FILL_VECTOR_ENGRAVING mode with its raster settings set to best guesses; check the first engraved file in Studio before running it.
- To use another machine, save any project from xTool Studio and choose it under Stock and machine, and set that machine's work area: the machine and mode fields are copied from your file.
- Works fully offline once opened; nothing is fetched.
Versions
The site runs the newest. Every earlier version stays downloadable, unchanged, for builds already under way.