Photo engraving prep
Turn a photo into a laser-ready dithered engraving, sized exactly in mm and DPI
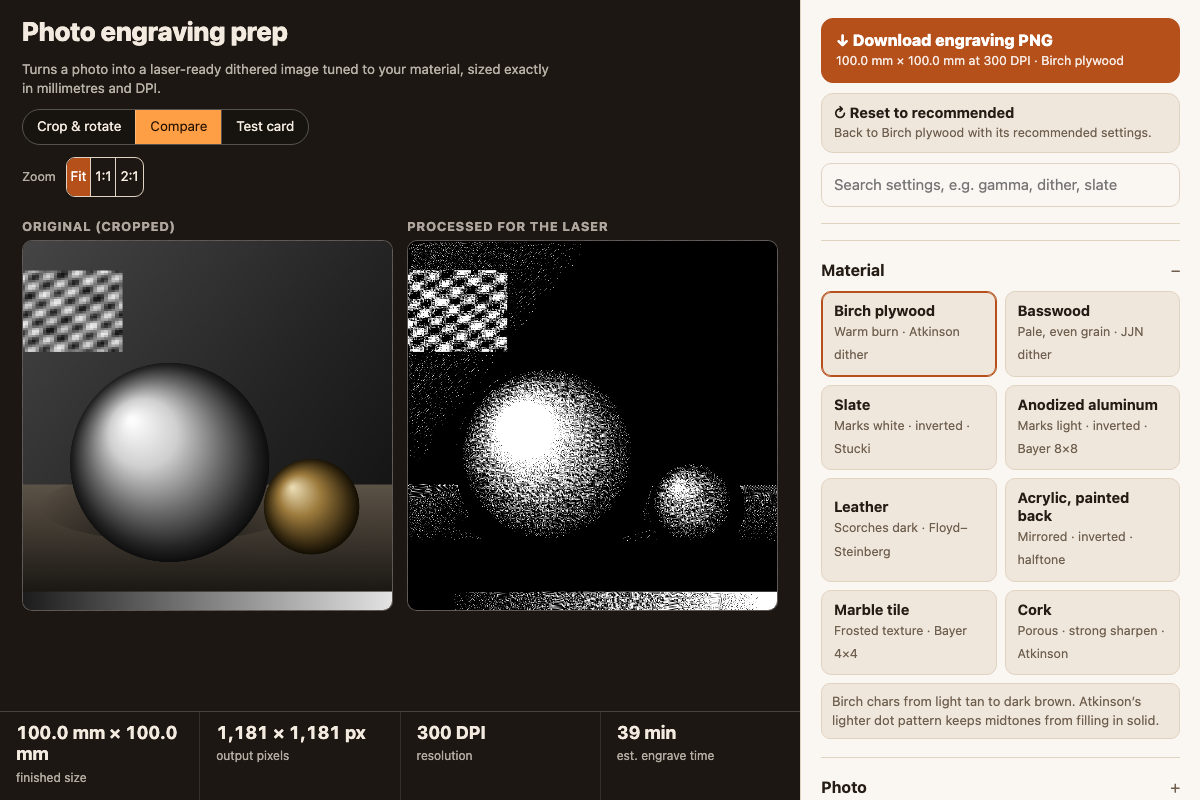
Screenshot of the tool as it opens; it is a real capture, not a mockup.
Thanks, your report was sent.
Report a problem or a newer version
What it makes
A grayscale, dithered PNG cropped and rotated from a photo, exported at the exact pixel size your finished mm dimensions and chosen DPI require, with the physical size embedded in the file's own pHYs chunk so LightBurn and xTool Creative Space read it at the correct scale on import. A material test card export lays out a grid of gamma and contrast combinations on your own photo so you can engrave one patch, see what suits the material, and copy the numbers back into the main settings. A settings JSON keeps every control for later.
How to use it
- Start from the built-in sample photo (a shaded still life or a portrait-style test pattern) or upload your own; nothing leaves the browser.
- Crop and straighten in the Crop & rotate view, then set the finished size in millimetres and the resolution your laser software expects.
- Pick a material preset for a sensible starting gamma, contrast, sharpening, inversion and dither method, or dial each in by hand.
- Compare the original and processed image at 1:1 pixels, choose a dither method (Floyd–Steinberg, Jarvis-Judice-Ninke, Stucki, Atkinson, ordered Bayer, halftone dots, or grayscale pass-through), and check the estimated engrave time.
- Download the PNG, or export a gamma × contrast test card first to dial in a material you haven't engraved before.
Build notes
- Material defaults are informed starting points from common laser-engraving practice, not measured for a specific machine or power setting; always test on scrap.
- Invert is on for materials that mark light rather than dark (slate frosts white, anodised aluminum burns through to bare bright metal); mirror is on for back-engraved acrylic, where the finished side is viewed from the opposite face.
- Glowforge's web app ignores a PNG's embedded DPI, so resize the image there manually after import; LightBurn and xTool Creative Space read it automatically.
- Works fully offline once opened; nothing is fetched, and the built-in sample images are drawn procedurally so there's no photo to license.